

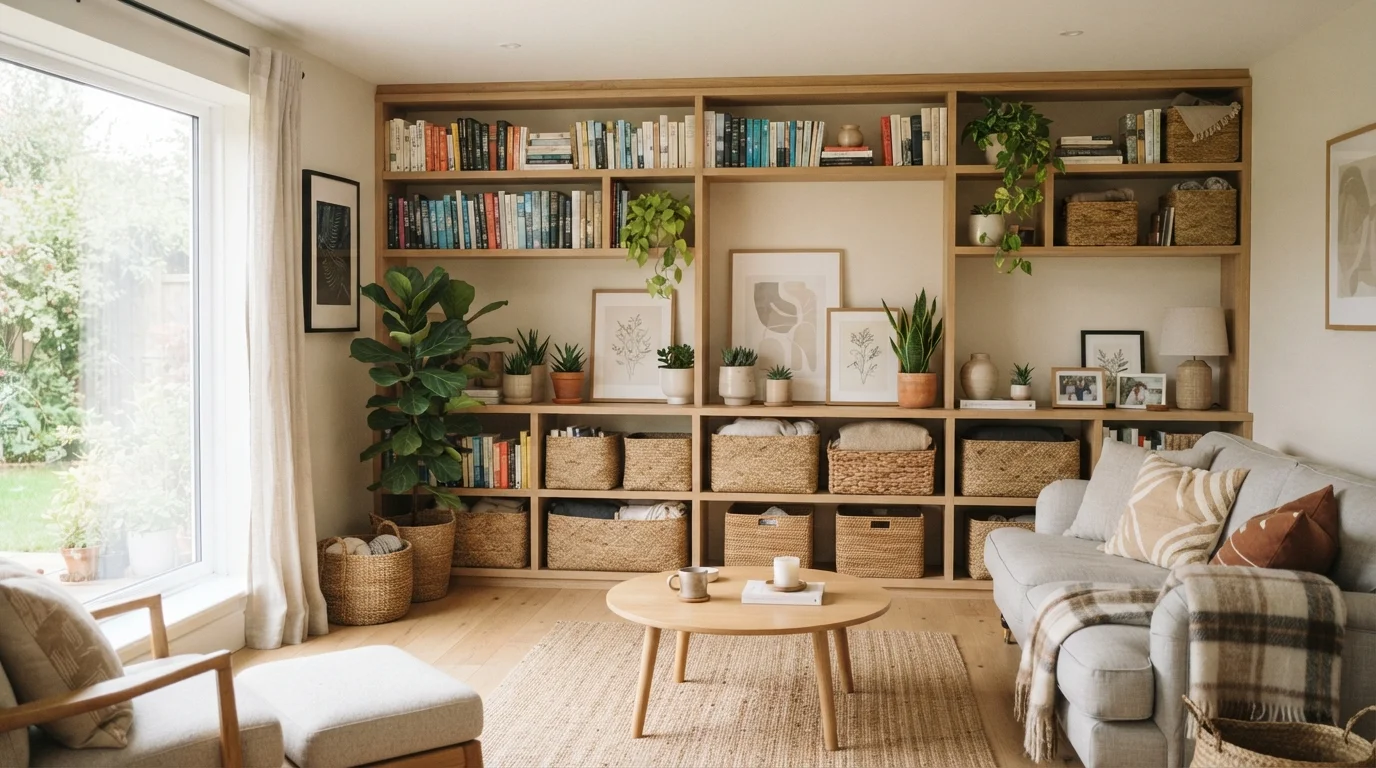
Key Takeaways
- Vertical storage shifts clutter off floors and counters by using wall height effectively.
- Assessing wall type and stud placement before installing anything prevents costly mistakes.
- Floating shelves, pegboards, and tall freestanding units each suit different room needs.
- Grouping items by frequency of use determines the best shelf height for each category.
- Anchoring heavy storage to wall studs is essential for safe, long-lasting installation.
What you will need
Why Vertical Space Is Your Most Underused Asset
Most rooms have far more wall height than we use. The average US home has 8- to 9-foot ceilings, yet the majority of storage sits at or below countertop level. That gap between your highest cabinet and the ceiling - sometimes two feet or more - represents real, usable capacity that most households simply ignore.
Vertical storage isn't just about adding shelves. It's a strategy for restructuring how a room functions. When items come off the floor and countertops, spaces feel larger and daily routines become more efficient. You stop moving things out of the way to reach what you need. For a broader look at how this fits into whole-home organization, see a complete framework for organizing every room.
Map Your Wall Before You Buy Anything
Take photos of each wall you plan to use and measure the height, width, and any obstacles like outlets, switches, or vents. Sketching a rough layout on paper or in a free app before purchasing shelving prevents expensive returns and wasted holes in your walls.
The approach works across room types - kitchens, bedrooms, home offices, garages, and bathrooms all have wall surfaces that can do more. The steps below apply broadly, with minor adjustments for each room's specific demands.
What You'll Need Before You Start
Successful vertical storage installation comes down to preparation. Rushing into drilling without the right information leads to crooked shelves, stripped anchors, and holes in the wrong places. Take the time to gather both the right tools and the right measurements.
What you will need
Stud Finder
Locates the wooden studs behind drywall so you can anchor shelving securely.
Drill and Drill Bits
Creates pilot holes and drives screws into wall studs or anchors.
Bubble or Laser Level
Ensures shelves are installed horizontally so items don't slide or look uneven.
Tape Measure
Measures wall dimensions and spacing between shelf brackets or units.
Pegboard Panel and Hardware
Provides a flexible, reconfigurable wall storage system for tools, kitchen items, or craft supplies.
Wall Anchors (drywall or masonry)
Secures brackets when screws cannot reach a stud directly.
Always Anchor Into Studs for Heavy Loads
Wall anchors rated for drywall alone are not sufficient for shelving that will hold books, cookware, or other heavy items. Locate wall studs using a stud finder before drilling, and use appropriately rated screws or bolts. If you are unsure about your wall type - especially with plaster, brick, or concrete - consult a hardware professional before proceeding.
Wall type matters more than most people expect. Standard drywall, plaster over lath, brick, and concrete each require different anchors and techniques. If you are uncertain about what's behind your walls - particularly in older homes - understanding load-bearing walls offers useful context on wall construction before you start modifying surfaces.
Step-by-Step: Installing Your Vertical Storage
Audit the Room and Identify Your Storage Needs
Before touching a single wall, walk through the room and take stock of what actually needs to be stored. Sort items into three categories: daily use (needs easy reach), occasional use (can go higher or deeper), and rarely used (suitable for the highest shelves or a separate closet). This sorting step drives every decision that follows, including shelf height and depth.
Measure Your Walls and Identify Stud Locations
Measure the full height and width of each wall you are considering. Note any outlets, light switches, thermostats, or vents that limit usable surface area. Then run your stud finder horizontally across the wall at the height where you plan to install brackets. Mark each stud location lightly with a pencil. In standard US construction, studs are typically spaced 16 inches apart on center, though older homes may vary.
Choose the Right Storage System for the Space
Match your storage solution to the room's demands:
- Floating shelves - Clean-looking and space-efficient. Best for lighter loads like books, décor, and small kitchen items.
- Bracket shelves with adjustable tracks - Allow height reconfiguration over time. Good for garages, offices, and utility rooms.
- Pegboards - Ideal for kitchens, workshops, and craft rooms where items need to be visible and easily swapped out.
- Tall freestanding shelving units - No drilling required; useful in rentals or rooms where wall anchoring isn't practical.
For kitchen-specific strategies, see our guide to organizing small kitchens. If you're weighing open versus closed storage, open shelving vs. closed cabinets covers the key trade-offs.
Plan Your Layout Before Drilling
Use painter's tape to mock up shelf positions directly on the wall. Step back and evaluate: does the arrangement give you easy access to daily-use items at waist-to-shoulder height? Are heavier items lower and lighter items higher? Check that no shelf position conflicts with the outlets or vents you noted earlier. Adjust the tape until you are satisfied - it is far easier to reposition tape than to patch holes.
Install Brackets or Anchoring Hardware
Drill pilot holes at your marked stud locations using a bit slightly narrower than your screws. For locations between studs, use wall anchors rated for the expected load - check the packaging for weight limits. Attach brackets or track rails with a level held against each piece as you work. Do not fully tighten screws until all hardware is in place and confirmed level.
Place Shelves and Load Them Thoughtfully
Set shelves onto brackets or tracks and secure any locking mechanisms. Now load items intentionally: heaviest and most-used items at mid-height, lighter decorative or seasonal items toward the top. Avoid overloading any single shelf - distribute weight across multiple shelves and check the manufacturer's stated load rating. Leave a small gap between the top of items and the shelf above to make retrieval easy.
Check for Hidden Utilities Before Drilling
Electrical wiring, plumbing pipes, and HVAC ducts can run inside walls in unexpected locations. Use an inexpensive multi-scanner (stud, AC wire, and pipe detection) before drilling into any wall. When in doubt, especially near kitchens and bathrooms, consult a professional.
Once installed, your vertical storage system should feel intuitive - the right item in the right place at the right height. For room-by-room inspiration once your walls are set up, storage solutions by room type provides a practical reference to refine each space further.