

Key Takeaways
- Old caulk must be fully removed and surfaces completely dry before any new caulk is applied.
- Painter's tape guides create straight lines and dramatically reduce cleanup time.
- Pulling the caulk gun rather than pushing it produces a more consistent, even bead.
- Silicone caulk requires 24-48 hours to cure fully - do not expose it to water too soon.
- Bubbling and peeling are almost always caused by moisture trapped under the caulk during application.
What you will need
Why Bathroom Caulk Fails (And How to Prevent It)
Bathroom caulk has one job: seal the gap between surfaces that move slightly or collect water - around the tub, along the base of a toilet, where the wall meets the floor. When it fails, it's rarely the caulk's fault. The culprit is almost always poor preparation.
The three most common failure modes are:
- Bubbling or lifting: Caused by applying caulk over a damp or wet surface. The moisture has nowhere to go and pushes the caulk up from underneath.
- Peeling at the edges: Caused by residual soap scum, mildew, or old caulk leaving a barrier that prevents adhesion.
- Cracking shortly after application: Often the result of using grout where flexible caulk belongs - a distinction worth understanding before you start. See our guide to grout vs. caulk for a full breakdown of where each material belongs.
The good news is that all three are preventable with the right prep sequence and a little patience on cure time.
Choose Mold-Resistant Caulk for Wet Areas
Not all caulk is the same. For tub surrounds, shower floors, and sink edges, always use a caulk labeled mold-resistant and rated for wet or high-humidity areas. Standard paintable latex caulk will degrade quickly in a continuously wet environment, no matter how well you apply it.
What You'll Need Before You Start
Gather everything before you begin so you're not hunting for tools mid-project with wet caulk drying on the tub edge.
Caulk gun
Dispenses caulk at a controlled rate for consistent bead application.
Silicone or siliconized latex caulk (mold-resistant, bathroom-grade)
The sealant material - choose a product rated for wet areas and mold resistance.
Caulk removal tool or utility knife
Scores and lifts old caulk from the seam without scratching tile or tub surfaces.
Painter's tape
Creates clean, straight edges on both sides of the seam and reduces cleanup.
Caulk finishing tool or dampened finger
Smooths and seats the fresh bead into the joint for a professional concave profile.
Bleach-based bathroom cleaner
Kills mildew and removes soap scum from the seam before caulking.
Plastic scraper
Removes residual old caulk from surfaces without scratching tile or acrylic.
Commercial caulk remover gel
Softens stubborn silicone residue to make removal easier and more complete.
What you will need
Step-by-Step: Removing Old Caulk, Prepping the Surface, and Applying Clean Lines
Follow these steps in order. Skipping ahead - especially past the drying stage - is the single most common reason a fresh caulk job fails within weeks.
Remove All Old Caulk
Use a caulk remover tool or a utility knife to score and lift the old bead. Work slowly along the seam, pulling the old caulk away in strips where possible. Follow up with a plastic scraper to remove any residue from the tile and tub surface without scratching them.
For stubborn silicone residue, apply a commercial caulk remover gel, let it sit for the time indicated on the label, then scrape again. Do not leave any remnants - even a thin film of old caulk will prevent the new material from bonding properly.
Clean and Degrease the Surface
Once the old caulk is gone, clean the joint thoroughly. Use a mildew-killing bathroom cleaner or a solution of one part bleach to four parts water applied with an old toothbrush. Scrub along the seam on both surfaces - tile and tub - to remove soap scum, mildew staining, and any grease from skin contact.
Rinse the area completely with clean water and wipe it down with a clean cloth. The surface must be free of any cleaning product residue before caulk goes on.
Allow the Surface to Dry Completely
This step is non-negotiable. After cleaning, allow the seam area to dry for a minimum of 24 hours before applying caulk. Run the bathroom exhaust fan or place a portable fan aimed at the tub surround to speed moisture evaporation. In humid climates or poorly ventilated bathrooms, consider waiting longer.
To test readiness, press a dry paper towel firmly against the joint line. If it picks up any moisture, keep drying.
Apply Painter's Tape to Both Sides
Run a strip of painter's tape along the tile, approximately 3-4mm above the seam line. Run a second strip along the tub or floor surface, 3-4mm below the seam line. Press both strips down firmly, especially near the joint edge - loose tape allows caulk to bleed underneath.
The gap between the two tape lines defines the width of your finished caulk bead. Aim for a consistent, narrow gap for a clean professional appearance.
Cut the Nozzle and Load the Caulk Gun
Cut the caulk tube nozzle at a 45-degree angle, starting with a very small opening - about 3-4mm. You can always cut more off if the bead is too thin, but you cannot put material back. Puncture the inner foil seal with the tool on your caulk gun or a long nail.
Load the tube into the caulk gun and do a small test squeeze onto a paper towel to confirm the bead size before touching the tub.
Apply the Caulk Bead
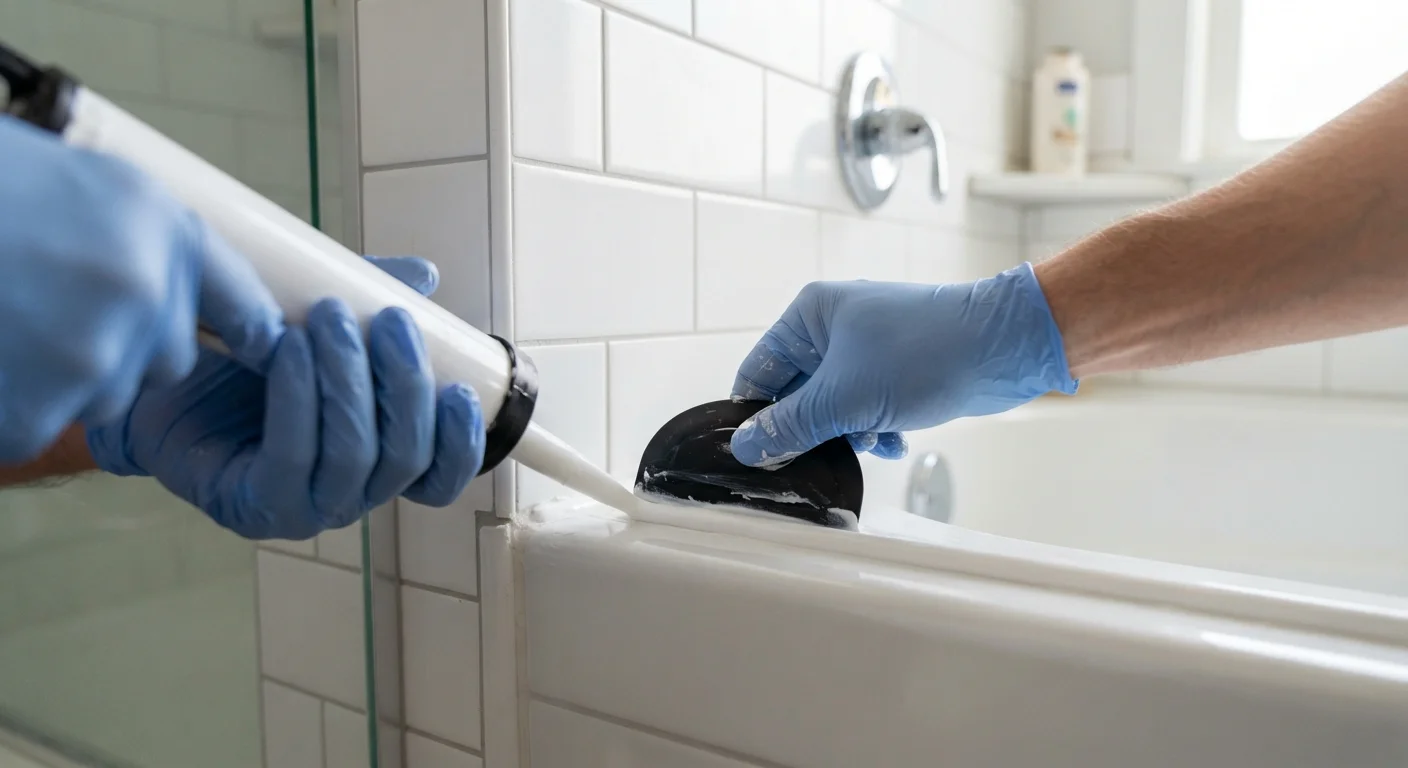
Position the nozzle at one end of the taped seam at a 45-degree angle, with the angled cut facing forward in the direction of travel. Pull the caulk gun steadily toward you rather than pushing it away - pulling produces a smoother, more consistent bead with fewer gaps.
Apply consistent trigger pressure and move at an even pace. Try to complete a full wall or seam run in one continuous motion rather than stopping and starting. If you do need to pause, release trigger pressure immediately to stop flow.
Tool and Smooth the Bead
Immediately after laying the bead, smooth it using a caulk-finishing tool or a dampened finger. Use one continuous stroke from one end to the other, pressing lightly to push the caulk into the joint and create a slightly concave profile. Do not go back and forth - a single pass gives the cleanest result.
Work quickly, as caulk begins to skin over within minutes in a warm room.
Remove the Tape and Allow Full Cure
While the caulk is still wet, pull the painter's tape off at a 45-degree angle back over itself. Remove it slowly to avoid lifting the fresh bead. This reveals clean, sharp edges on both sides of the caulk line.
Allow silicone caulk to cure for a minimum of 24 hours before any water exposure, and 48 hours for a tub surround that will see daily shower use. Latex caulk cures faster but is less suitable for wet areas. Check the label on your specific product for cure-time guidance.
Never Caulk Over Existing Mold or Mildew
If you can see black or pink mold in the existing seam or on the tile, address it fully before applying new caulk. Caulking over mold traps it underneath, where it continues to grow and will eventually push through the new bead. Clean with a bleach solution, allow full drying, and confirm the surface is clean before proceeding.
Troubleshooting and Long-Term Maintenance
Even a well-applied caulk line has a lifespan. In a heavily used shower or tub, you can expect silicone caulk to last five to ten years before it begins to discolor or crack. Inspect it annually and recaulk at the first sign of separation - catching it early means less removal work next time.
If your new caulk line develops small bubbles within the first 24 hours, it's a sign moisture was present. You'll need to let it cure fully, then remove and redo it after a longer drying period - ideally with a fan running in the bathroom for several hours first.
For anyone tackling broader bathroom updates alongside a recaulk, the same attention to prep applies when working with tile. Our first-timer's guide to laying tile covers layout, adhesive, and grouting fundamentals that pair well with what you've learned here. And if the wall around your tub surround has any soft or damaged spots, address those first - our drywall repair walkthrough covers patching techniques before you seal over them.
Water Exposure Before Cure Will Ruin the Job
The single most common reason a new caulk line fails within weeks is water exposure before the material has fully cured. Silicone caulk typically needs 24-48 hours; check your product label for the specific time. Even a brief splash during cure can prevent proper adhesion and cause the bead to lift or bubble. Plan your timing so the bathroom can be kept dry for the full cure window.