

Key Takeaways
- Repair method depends on hole size: spackle for small holes, mesh patches for medium, backer boards for large.
- Multiple thin coats of joint compound produce a smoother, less visible finish than one thick coat.
- Proper feathering and sanding are the keys to a seamless, paint-ready surface.
- Allow each coat of compound to dry fully before sanding or applying the next.
- Priming repaired areas before painting prevents uneven sheen and visible patches.
What you will need
Choosing the Right Repair Method
Drywall damage falls into a few predictable categories, and choosing the right technique before you touch a tool saves time and rework. Here's how to read the damage:
- Nail pops and hairline cracks (under ¼ inch): These require only lightweight spackle or patching compound, applied with a putty knife and smoothed flush.
- Small holes (¼ inch to 3 inches): Self-adhesive mesh patches provide enough backing to hold compound without needing internal support.
- Medium holes (3 to 6 inches): A California patch - where you cut the drywall into a clean square and use the face paper of a slightly larger piece as a built-in flap - works well without requiring a backer board.
- Large holes (over 6 inches): These require cutting back to the nearest studs or installing backer boards so the new drywall panel has solid anchoring.
Before starting any repair, check inside the wall cavity where possible for electrical wires or plumbing. If you suspect wiring runs through the damaged area, do not proceed without verifying it is safe to do so.
What you will need
Materials and Tools You'll Need
Having everything staged before you start prevents mid-job trips to the hardware store. Quantities depend on the size of your repair, but the toolkit is consistent across most patch types.
Lightweight spackle or all-purpose joint compound
Fills holes and covers mesh or backer patches to create a smooth surface.
Putty knife or drywall knife (4-inch and 6-inch)
Applies and feathers joint compound across the patched area.
Self-adhesive fiberglass mesh patch
Provides backing for holes up to about 6 inches without requiring a backer board.
Drywall screws and backer boards or wood strips
Anchors new drywall panel sections for large hole repairs.
Fine-grit sanding sponge or sandpaper (120-220 grit)
Smooths dried compound between coats and before priming.
Drywall primer
Seals the repaired surface so paint absorbs evenly and the patch stays invisible.
Utility knife
Cuts drywall cleanly for California patches or large panel replacements.
Dust mask and safety glasses
Protects against fine drywall dust during sanding.
For wall texture matching - a common challenge after patching - you may need a texture spray or a sea sponge to recreate existing finishes like orange peel or knockdown. Test texture technique on scrap drywall or cardboard before applying it to the wall.
Step-by-Step Repair Instructions
Work through these steps in order. Skipping ahead - especially rushing the drying time between coats - is the most common reason repairs remain visible after painting.
Clean and prepare the damaged area
Remove any loose paper, crumbling drywall, or debris from around the hole or crack. For nail pops, drive the nail back in with a hammer and add a drywall screw about 2 inches above and below it to re-anchor the panel. For cracks, widen them slightly with a putty knife to give the compound something to grip.
Apply your patch backing
For holes under 3 inches, press a self-adhesive mesh patch firmly over the opening. For medium holes, use the California patch method: cut a drywall piece about 2 inches larger than the hole on all sides, score the back to remove the gypsum core while leaving the face paper intact, then insert the core into the hole and fold the paper flaps onto the wall surface. For large holes, cut back to the nearest studs, install horizontal backer boards between studs if needed, cut a replacement panel to fit, and secure it with drywall screws every 8 inches.
Apply the first coat of joint compound
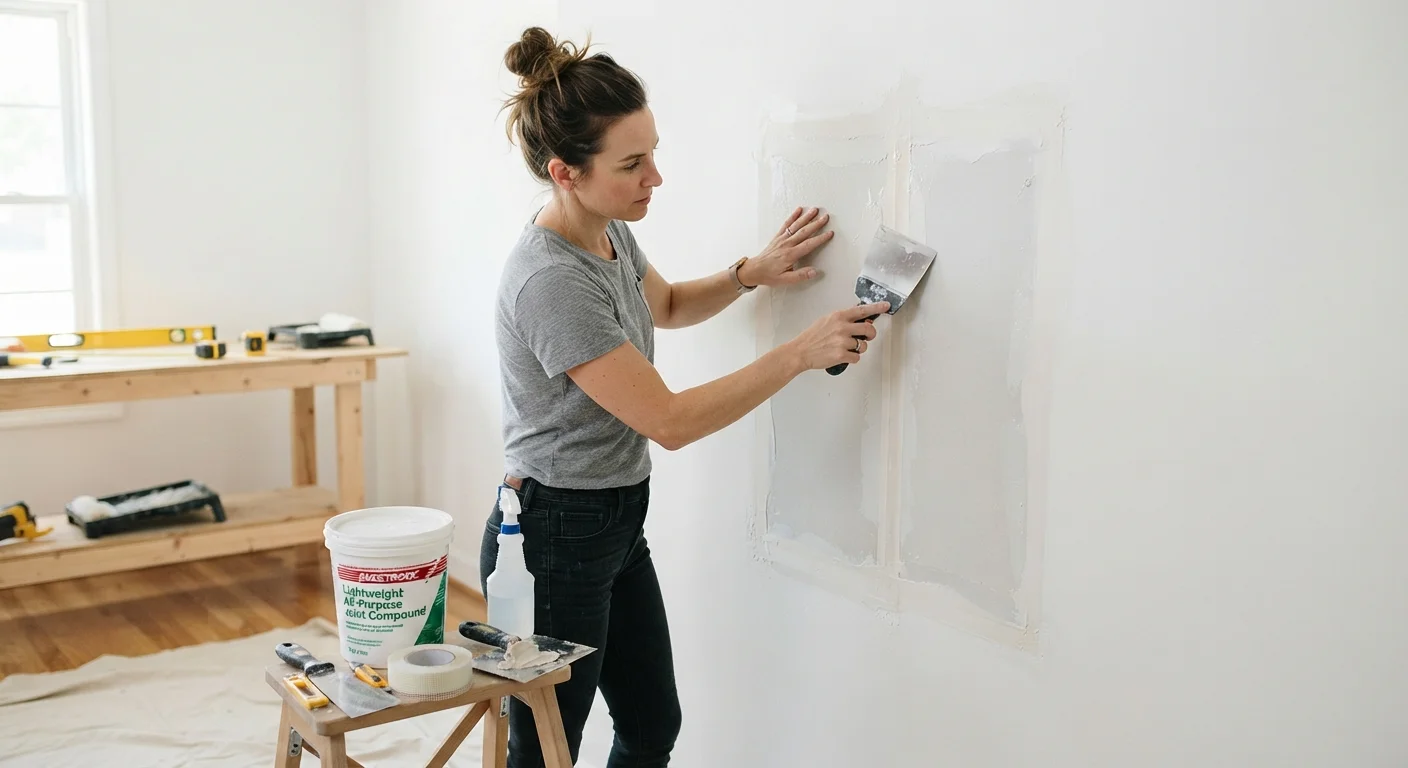
Using a 4- or 6-inch putty knife, spread a thin, even coat of joint compound over the patch and about 2-3 inches beyond its edges. Press it firmly into the mesh or paper backing. Feather the edges - meaning taper the compound so it gradually thins out rather than ending abruptly. Let this coat dry completely, which typically takes 4-8 hours depending on temperature and humidity.
Sand and apply additional coats
Once dry, lightly sand the first coat with 120-grit sandpaper to knock down ridges and high spots. Wipe away dust. Apply a second coat, extending your feathered edges another inch or two beyond the first coat. For patches larger than 3 inches, a third coat is typically needed. Each coat should be slightly thinner and wider than the previous one. Sand the final coat with 220-grit for a smooth finish.
Prime and paint the repaired surface
Apply a coat of drywall primer to the repaired area and allow it to dry according to the manufacturer's instructions. Once primed, paint the area. For the best color match, paint the entire wall panel rather than spot-painting, since even an exact color match can look patchy due to sheen differences between new and aged paint.
Stop Before Cutting Into Walls
Large hole repairs require cutting back to studs, which increases the risk of hitting electrical wiring or plumbing. Always use a stud finder with AC wire detection before cutting. If you have any uncertainty about what's inside the wall, consult a licensed electrician or plumber. Unpermitted electrical work or accidental pipe damage can create serious safety hazards and costly repairs.
Once your final coat is sanded smooth, apply a drywall primer before painting. Skipping primer is a frequent mistake: unprimed compound absorbs paint differently than the surrounding wall, leaving a dull spot even when the color matches perfectly. The same principle applies to any adjacent surfaces you've prepped - much like the surface preparation covered in our bathroom caulking guide, clean and properly primed surfaces are what separate a lasting repair from one that fails within months.