

Key Takeaways
- Layout planning - done dry, before any adhesive - is the single most important step for beginners.
- A stable, flat substrate is non-negotiable; tiling over a weak surface will cause failure over time.
- Thinset mortar is the correct adhesive for most floor and wet-area wall tile applications.
- Grout joint width affects both appearance and structural performance; spacers keep joints consistent.
- Caulk, not grout, belongs at corners and transitions where two surfaces meet at an angle.
- Rushing cure times is the most common beginner mistake - patience produces lasting results.
Start here
What You'll Need: Tools and Materials
Plan first
Planning Your Layout Before You Mix a Thing
Prep the surface
Preparing the Surface
Set the tile
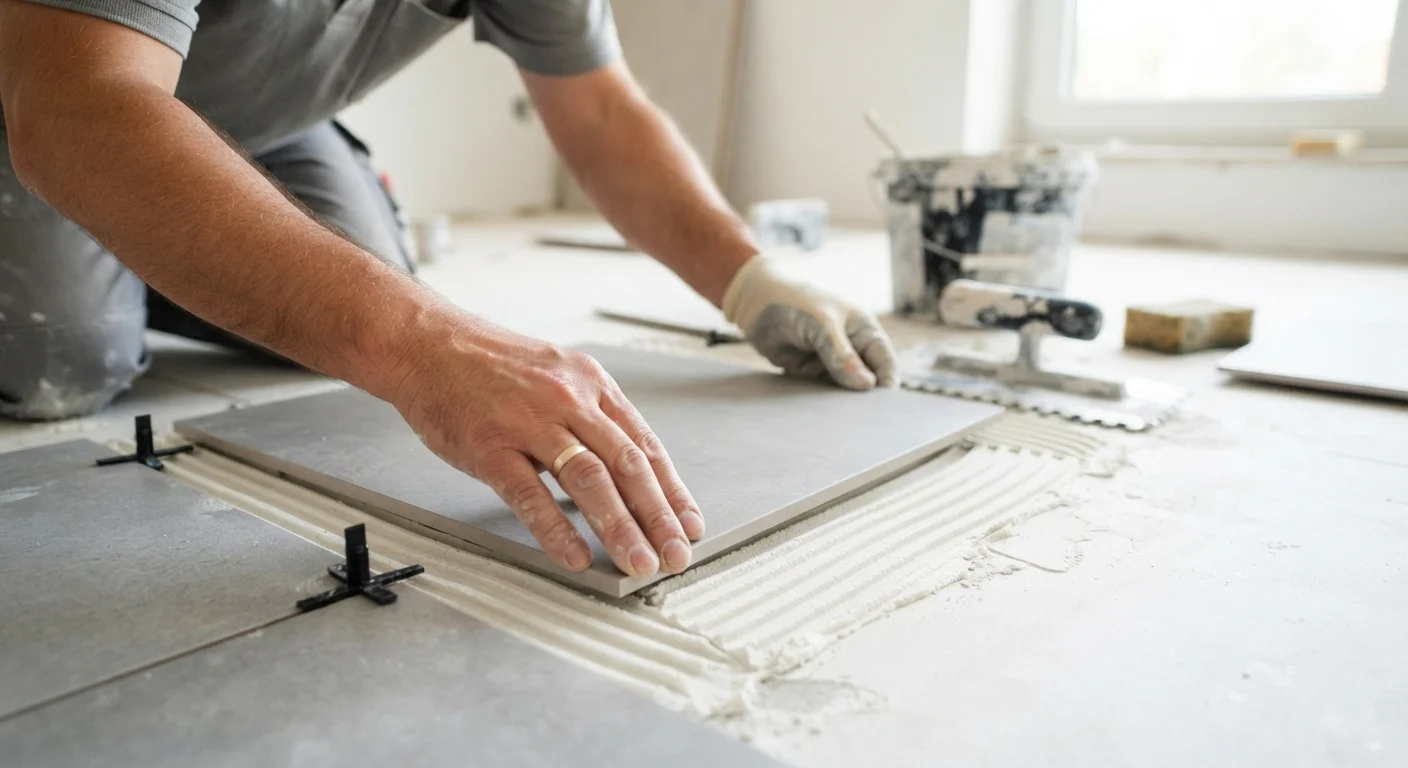
Setting Tile with Adhesive Mortar
Finish strong
Grouting, Finishing, and Caulking
What You'll Need: Tools and Materials
Gathering the right tools before you start saves frustrating mid-project trips and keeps your workflow moving. Here's what a first-time tiler will need:
- Notched trowel - spreads thinset mortar evenly; size depends on tile dimensions
- Tile spacers - plastic crosses that hold consistent grout joint width between tiles
- Rubber mallet - used to gently seat tiles into the mortar bed without cracking them
- Level and long straightedge - for checking surface flatness and tile alignment
- Tile cutter or wet saw - for trimming tiles at edges, corners, and around obstacles
- Grout float - a rubber-faced tool for pressing grout into joints
- Sponges and buckets - for cleaning excess grout off tile faces
- Thinset mortar - polymer-modified thinset is suitable for most floor and wall applications
- Grout - sanded for joints wider than 1/8 inch, unsanded for narrower joints
- Cementboard and screws - if your substrate needs reinforcement (common in bathrooms)
Thinset mortar
A cement-based adhesive mixed with water (and often polymer additives) used to bond tile to a substrate. It's the standard adhesive for floor tile and wet-area wall tile.
Substrate
The structural surface beneath the tile - such as a concrete slab, plywood subfloor, or cementboard. The substrate must be stable and flat for a tile installation to last.
Cementboard (backer board)
A rigid panel made with a cement core, used as a tile substrate in wet areas like bathrooms and showers. It resists moisture damage that would cause standard drywall to fail.
Grout joint
The intentional gap left between tiles that is later filled with grout. Joint width affects both the visual look and structural performance of the finished installation.
Back-buttering
Applying a thin layer of thinset to the back of a tile (in addition to the substrate) before setting it. Required for larger tiles to ensure full, void-free adhesion.
Slaking
The short rest period after initially mixing thinset or grout, before mixing again. Slaking allows the water to fully hydrate the dry ingredients, producing a stronger, more workable mixture.
Planning Your Layout Before You Mix a Thing
Experienced tilers spend as much time planning as they do setting tile - and for good reason. A poor layout means cut tiles end up in the most visible spots, or you run out of full tiles at an awkward corner.
Dry-lay first. Before mixing any mortar, arrange tiles across the floor or wall without adhesive. This lets you see exactly where cuts will fall and whether your starting point produces a balanced look. Aim to have cut tiles of roughly equal width on opposite walls rather than one full row and one sliver.
Find center, work outward. Snap chalk lines across the center of the room in both directions. These perpendicular lines form your starting grid. Setting your first tile at or near this intersection and working outward toward the walls keeps the layout symmetrical.
Account for grout joints. Tile spacers are placed between each tile during the dry-lay, so your spacing plan reflects exactly what you'll install. Even a 1/16-inch shift per joint multiplies across a large floor.
Mark Your Chalk Lines in Pencil Too
Chalk lines can get rubbed away as you work across a floor. After snapping your layout lines, use a pencil or permanent marker to mark several reference points along each line. This lets you re-establish your grid quickly if the chalk disappears mid-project.
Preparing the Surface
Tile is only as durable as what's beneath it. A surface that flexes, has high spots, or contains loose material will cause tiles to crack or pop loose within months - no matter how carefully you set them.
For floors: Remove any loose flooring, sweep thoroughly, and check for squeaky or bouncy spots. Secure any loose subfloor panels with screws. In bathrooms and wet areas, install cementboard (also called backer board) over the subfloor and fasten it per manufacturer specifications before tiling. Fill low spots with floor leveling compound and allow it to cure fully.
For walls: In wet areas like showers, standard drywall is not an appropriate substrate - use moisture-resistant cementboard or a waterproofing membrane system. In dry areas, sound, clean drywall can work. Remove all paint that is peeling, and sand glossy surfaces lightly so the thinset can bond.
Check for flat. Use your straightedge to identify high and low spots. Industry guidelines generally call for no more than 1/8 inch of variation over a 10-foot span. Address any problem areas before you open the mortar bag.
Never Skip Waterproofing in Wet Areas
Water that penetrates grout joints over time will eventually reach your substrate. In showers and wet bathrooms, cementboard alone may not be sufficient - many professional installers apply a liquid waterproofing membrane over the backer board before setting tile. Check local building codes and product guidance for your specific application, and consider consulting a licensed tile contractor for shower enclosures.
Setting Tile with Adhesive Mortar
With your layout planned and your surface prepped, you're ready to set tile. Work in manageable sections - typically about 3 to 4 square feet at a time - so the thinset doesn't skin over before you can set the tiles.
- Mix thinset to a peanut butter consistency. Follow the water ratio on the bag. Too wet and it won't hold; too dry and it won't bond. Let it slake (rest) for 5-10 minutes after initial mixing, then mix briefly again.
- Spread with the flat side, then comb with the notched side. Press thinset firmly onto the substrate with the flat edge of your trowel, then comb it in one direction using the notched edge. Consistent ridges help achieve full coverage on the back of the tile.
- Back-butter large tiles. For tiles 12 inches or larger, also apply a thin skim coat of thinset to the back of the tile itself. This helps ensure full, void-free contact.
- Set tiles and check alignment frequently. Place each tile with a slight twisting motion, press firmly, and tap gently with a rubber mallet. Insert spacers immediately. Check every few tiles with your level.
- Remove excess mortar from joints before it hardens. Use a small screwdriver or margin trowel to keep joints clean - hardened mortar in the joint is difficult to remove and interferes with grout adhesion.
Grouting, Finishing, and Caulking
After the thinset has cured - typically at least 24 hours; check the product label - you can remove tile spacers and begin grouting.
Mix grout to a thick, smooth consistency with no lumps. Let it slake per the manufacturer's instruction (usually around 5-10 minutes), then remix. Work in sections of about 10-15 square feet.
Apply grout with a rubber float held at roughly a 45-degree angle, pressing it firmly across the joints in a diagonal sweeping motion. Diagonal strokes prevent the float edge from digging grout back out of the joints.
Clean as you go. After allowing the grout to firm up slightly (follow manufacturer timing - usually 15-30 minutes), use a damp - not soaking wet - sponge to wipe the tile surface in circular motions. Rinse the sponge frequently. A hazy film may remain; once the grout has fully cured, buff it away with a dry cloth.
Caulk, don't grout, at transitions. Wherever two surfaces meet at an angle - inside corners, the joint between the floor and a tub, or where tile meets a different material - use flexible, waterproof caulk instead of grout. Grout cracks at these joints because the surfaces move slightly relative to each other. For a full walkthrough on surface prep and smooth caulk application, see our bathroom caulking guide.
Allow full cure before use. Most grout requires 24-72 hours before light foot traffic, and some wet-area grouts need up to a week before water exposure. Follow the product label - patience here protects all the work you've put in.
Tile Council of North America (TCNA) Handbook
The industry-standard reference for tile installation methods in the US. Useful for understanding installation specifications for different substrate and tile combinations.
Wet Saw Rental
Many home improvement stores offer day or weekend rentals of wet saws, making it practical for first-timers to handle complex cuts without purchasing expensive equipment.
Floor Flatness Calculator
Online tools that help you calculate how much floor leveling compound you may need based on the area and depth of low spots in your substrate.
This article is intended for general informational and educational purposes. DIY tiling projects involving structural, plumbing, or electrical work may require permits or licensed professionals depending on your local building codes. Always verify local requirements before beginning any home improvement project.