

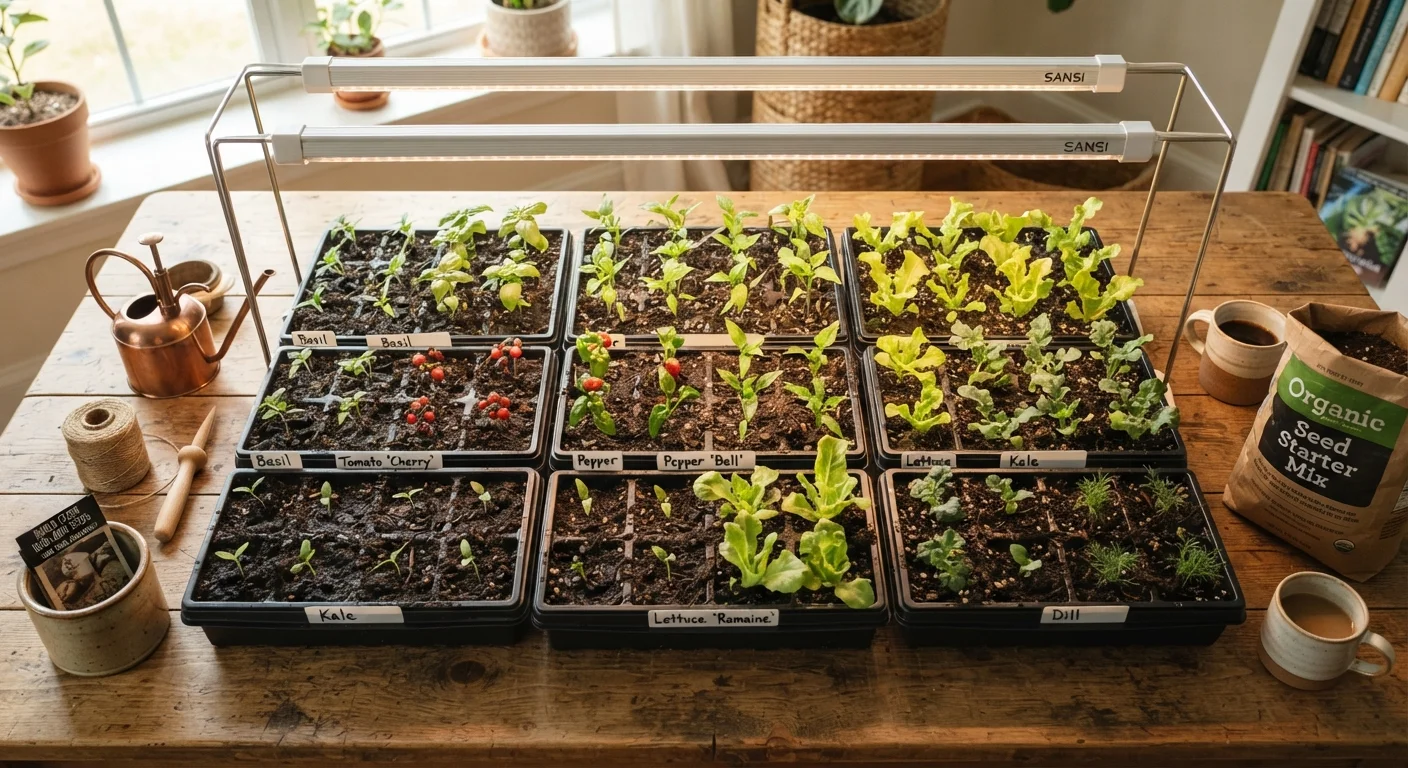
Key Takeaways
- Starting seeds indoors extends your growing season by several weeks depending on your climate.
- A quality seed-starting mix, adequate light, and consistent moisture are the three pillars of success.
- Hardening off - gradually exposing seedlings to outdoor conditions - is essential before transplanting.
- Most vegetables and flowers can be started indoors 4-10 weeks before your last expected frost date.
- Thinning seedlings early prevents overcrowding and produces stronger, healthier transplants.
What you will need
Why Start Seeds Indoors?
Growing plants from seed gives you access to far more variety than nurseries typically stock, and it costs a fraction of buying ready-made transplants. More importantly, starting seeds indoors lets you control the early environment - warmth, moisture, and light - so young plants develop strong roots before facing the unpredictability of outdoor conditions.
For gardeners in shorter-season climates, indoor seed starting can be the difference between a full harvest and a stunted one. Crops like tomatoes, peppers, and eggplant need a long growing window that simply can't begin outdoors in most of the US. Check our seasonal garden calendar to find the ideal sowing window for your region.
What you will need
What You'll Need
You don't need expensive equipment to start seeds successfully, but a few key supplies make a real difference in germination rates and seedling health.
Seed-starting trays or cell packs
Holds individual seedlings and prevents root tangling, making transplanting cleaner.
Seed-starting mix
A sterile, fine-textured growing medium designed to support germination and early root development.
Grow lights (LED or fluorescent)
Provides consistent, full-spectrum light when window light is insufficient - critical in winter months.
Humidity dome or plastic wrap
Traps moisture around seeds during germination, reducing the need for frequent watering.
Heat mat
Warms the root zone to encourage faster, more even germination in cool indoor environments.
Plant labels and permanent marker
Keeps track of which seedlings are which - essential when multiple varieties look identical at first.
Avoid using garden soil or potting mix designed for containers - both compact too easily for delicate seedling roots. A purpose-made seed-starting mix is light, sterile, and well-draining.
Step-by-Step: Sowing to Transplant
Follow these steps in order. Skipping the hardening-off phase - the outdoor acclimatization process - is the single most common reason healthy seedlings fail after transplanting.
Time your sowing correctly
Count backward from your last expected frost date using the seed packet's recommended indoor start time - typically 4-10 weeks depending on the crop. Tomatoes, peppers, and eggplant need the longest head start (8-10 weeks); lettuce and herbs need far less (4-6 weeks). Sowing too early is a common mistake that produces oversized, root-bound seedlings that struggle after transplanting.
Fill trays with seed-starting mix
Moisten your seed-starting mix before filling trays - it should feel like a wrung-out sponge, damp but not dripping. Fill cells to about ¼ inch from the top and gently firm the surface. Dry mix can repel water initially, so pre-moistening is important for even germination.
Sow seeds at the correct depth
A general rule is to plant seeds at a depth of two to three times their diameter. Very fine seeds (like basil or petunias) can be pressed gently onto the surface and left uncovered. Check the seed packet for specific guidance. Sow 2-3 seeds per cell to account for germination failures - you'll thin to one plant later.
Provide warmth for germination
Most seeds germinate best when the growing medium stays between 65°F and 75°F. A heat mat placed under the tray accelerates germination noticeably. Cover the tray with a humidity dome or a loose piece of plastic wrap to retain moisture. Check daily and remove the cover as soon as the first seedlings emerge.
Move seedlings under lights
Once seedlings emerge, they need bright light immediately - typically 14-16 hours per day under grow lights, positioned 2-4 inches above the tops of the plants. Raise the lights as seedlings grow. Insufficient light is the leading cause of leggy, weak seedlings that struggle outdoors.
Thin seedlings to one per cell
Once seedlings have their first set of true leaves (the second set to appear, after the seed leaves), thin to the strongest plant per cell. Snip extras at soil level with scissors rather than pulling, which can disturb neighboring roots. Crowded seedlings compete for resources and are more prone to disease.
Harden off before transplanting
Begin hardening off 7-14 days before your planned transplant date. Set seedlings outdoors in a sheltered, shaded spot for 1-2 hours on day one. Gradually increase outdoor exposure each day, introducing more sun and wind over the course of one to two weeks. By the final days, seedlings should be spending full days outdoors.
Transplant into the garden
Transplant on a mild, overcast day or in the late afternoon to minimize sun stress. Water seedlings thoroughly before removing them from trays. Dig a hole slightly larger than the root ball, set the plant at the same depth it was growing (tomatoes are an exception - they can be planted deeply), firm the soil around the roots, and water in well.
Once your seedlings are in the ground, consider how your garden bed setup affects their long-term success. Our guide to raised beds vs. in-ground planting can help you choose the right home for your transplants.
Troubleshooting Common Problems
Leggy Seedlings
If your seedlings are tall, thin, and flopping over, they're not getting enough light. Move them closer to a grow light or a south-facing window. Leggy seedlings can sometimes be planted slightly deeper to compensate, but prevention is far easier.
Damping Off
Damping off is a fungal condition that causes seedlings to collapse at the soil line. It's almost always caused by overwatering or poor air circulation. Water from below, let the surface dry slightly between waterings, and use a small fan to keep air moving.
Poor Germination
If seeds aren't sprouting, check soil temperature first - most vegetable seeds germinate best between 65°F and 75°F. Old seeds also lose viability; always check the packet date before sowing.
Test Old Seeds Before Sowing
To check if older seeds are still viable, place 10 seeds between two damp paper towels and keep them warm for the packet's stated germination period. Count how many sprout. If fewer than 7 out of 10 germinate, sow more densely to compensate, or start fresh with a new packet.
If you're gardening in a compact space, many of these seedlings transition beautifully to containers. Our guide to container gardening trade-offs covers what works well in pots and what doesn't.