

Key Takeaways
- Eligibility for visa on arrival depends on your passport nationality and the destination country — never assume.
- You must typically arrive with cash in the local or a major foreign currency, a completed arrival form, and proof of onward travel.
- Processing happens at a dedicated counter before the main immigration line — expect waits of 20–60 minutes at busy times.
- Visa on arrival is not a guaranteed right; officers can still deny entry at their discretion.
- Always verify current requirements through official government sources before departing.
What you will need
What "Visa on Arrival" Actually Means
A visa on arrival is a form of entry permission granted at the border — typically at an international airport — rather than arranged in advance through an embassy or consulate. It is designed for short-term visits such as tourism or brief business trips and is available to specific nationalities at specific destinations.
The term is often confused with visa-free entry (where no visa is needed at all) and with eVisas (which are applied for online before travel). VOA sits in the middle: you are not pre-approved, but you also do not need to visit a consulate. The actual issuance still involves an officer review and payment at the border.
For travelers new to international movement, see our first-time international traveler's orientation for a broader grounding in what to expect at borders and beyond. If you want to get ahead of your full travel timeline, our travel planning timelines guide maps out when to handle visa research alongside every other pre-departure task.
The Step-by-Step Process
Knowing the sequence before you arrive removes most of the uncertainty. The steps below reflect the typical VOA process at major international airports — individual countries may vary in minor ways, so always consult official sources for your specific destination.
Confirm you are eligible before booking
Visa on arrival (VOA) eligibility is determined by your passport nationality, not where you live. A destination that grants VOA to US passport holders may not offer it to other nationalities, and vice versa. Check the official immigration portal of the country you plan to visit, then cross-reference with your own government's travel advisory. Do this at the time of planning and again within a week of departure, as rules can change.
Gather required documents before you board
Standard VOA requirements typically include: a passport valid for at least six months beyond your travel dates, a completed arrival or application form, proof of onward travel (a return or connecting flight itinerary), proof of accommodation, and the visa fee in cash. Some countries also require a passport photograph. Prepare all of these before your departing flight — not while you're in the arrivals queue.
[prerequisites]Locate the visa on arrival counter after landing
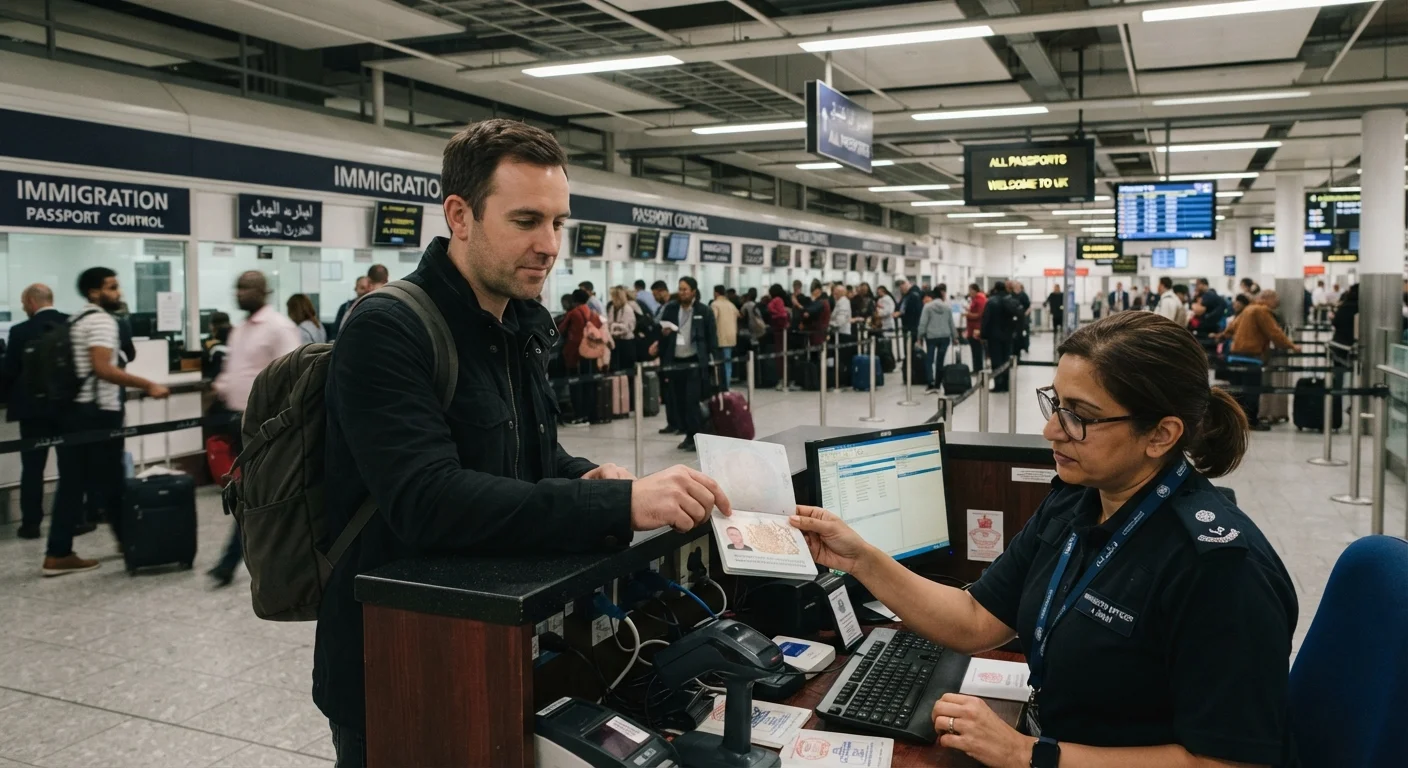
After disembarking, follow signs for immigration or arrivals. In most airports, the VOA counter is positioned before the main passport control lines — look for signage reading "Visa on Arrival," "VOA," or "Visa Counter." If signage is unclear, follow the general flow of other arriving international passengers or ask airport staff. Do not join the main immigration line before getting your visa stamp or sticker, or you will likely be sent back.
Submit your application at the counter
Hand the officer your completed form, passport, and any supporting documents. The officer may ask about the purpose of your visit, where you will stay, and how long you intend to remain. Answer clearly and honestly. Do not volunteer unnecessary information, but do not withhold anything relevant. In some countries, an interview-style assessment is brief and routine; in others it is more detailed.
[tool_cards]Pay the visa fee
Once your application is accepted, you will pay the fee. Have the exact amount ready — many counters do not give change. Fees typically range from around $25 to $75 USD equivalent, but vary widely by country and nationality. You will receive a receipt; keep it with your passport throughout your trip. After payment, the officer will affix a stamp or sticker to your passport indicating the visa type, permitted length of stay, and entry conditions.
[warning_callout]Proceed to standard immigration and verify your stamp
With your VOA stamp in hand, join the regular passport control line. When you reach the officer, they will formally admit you and may stamp an entry date alongside the visa. Before leaving the immigration hall, check the stamp or sticker carefully: confirm the permitted length of stay matches your plans and that the entry type (tourist, single-entry, etc.) is correct. Errors do occasionally occur and are far easier to resolve at the airport than later.
Arrive with a Documentation Packet
Keep a small folder or envelope in your carry-on containing your passport, printed arrival form, onward flight itinerary, hotel booking confirmation, and your visa fee cash. Having everything in one place significantly reduces stress and speeds up the counter interaction.
It is also worth knowing that VOA is not an unconditional right. An immigration officer retains full authority to deny entry even if you hold a valid passport from an eligible nationality. Presenting complete documentation, dressing appropriately, and answering questions calmly and honestly are your best tools.
For context on what happens once you pass immigration, our guide to customs declarations explains the next step in the arrivals process. And if you are transiting through another country on your way, check whether a transit visa could apply — see airport transit visas explained for details.
Always Verify Before You Travel
Visa on arrival rules change without much notice — fee amounts, permitted nationalities, and required documents can all shift. Rely only on the official immigration authority of the destination country and your own government's travel advisory pages for current requirements. Information found on travel blogs or booking platforms may be outdated.
Common Points of Confusion and How to Avoid Them
Even prepared travelers hit snags at VOA counters. Here are the most frequent issues:
- Incorrect fee currency or denomination: Research the exact fee and acceptable currencies before you fly. Exchange a small amount at your departure airport if needed.
- Missing onward travel proof: A screenshot is usually fine, but print a backup. Officers can and do ask for it.
- Passport validity: If your passport expires within six months of your planned return date, renew it before you travel. Many countries enforce this strictly. Our first international trip planning framework covers passport checks as part of the broader planning process.
- Assuming VOA is available at all ports of entry: Some countries only offer VOA at international airports, not land border crossings. Verify the specific entry point you plan to use.
- Not checking the stamp before leaving: A misprinted date or wrong duration is rare but fixable on the spot — not after you leave the airport.