

Key Takeaways
- Vertical wall space - not counter space - is the most underused asset in a small kitchen.
- Grouping items by frequency of use helps you decide what deserves prime counter real estate.
- Inside cabinet doors, drawer dividers, and stackable containers can double usable storage.
- A declutter pass before reorganizing prevents new systems from inheriting old clutter.
- Consistent maintenance habits matter as much as the initial organization effort.
What you will need
Why Small Kitchens Get Disorganized So Quickly
Small kitchens don't fail because of their size - they fail because their storage systems weren't designed around how the space is actually used. Cabinet space gets assigned arbitrarily, counters become default landing zones, and vertical wall space goes untouched. The result is a kitchen that feels chaotic even when it isn't particularly dirty.
The fix isn't always buying more storage products. More often, it starts with being deliberate about what belongs in the kitchen at all, and then placing items where they're actually used. If you're also weighing whether a more minimal approach might work for your household, the case for and against minimalism as a home strategy is worth reading alongside this guide - it offers an honest look at what owning less can and can't solve.
For a broader overview of how different rooms call for different approaches, the storage solutions by room type reference guide is a useful companion resource.
What you will need
What You'll Need Before You Start
This project requires no special skills or major purchases to begin. The most important tool is time - specifically, an uninterrupted stretch to do the audit properly. Rushing through Step 1 typically means the rest of the system is built on incomplete decisions.
Measuring tape
Measure cabinet interiors, wall space, and drawer dimensions before buying any organizers.
Drawer dividers
Separate utensils, tools, and small items inside drawers to prevent jumbled clutter.
Stackable containers or bins
Create tiered storage inside deep cabinets so items at the back remain accessible.
Magnetic knife strip
Mounts knives on the wall, freeing up both a drawer and counter knife-block space.
Over-door organizer or hooks
Turns the inside of cabinet doors into storage for lids, wraps, or small bottles.
Shelf risers or step shelves
Stack items at different heights inside a single cabinet shelf, doubling visible capacity.
Wall-mounted hooks or pegboard panel
Hangs frequently used utensils, pans, or small baskets directly on the wall.
Think in Zones, Not Just Drawers
Assign each area of your kitchen a functional zone: prep, cooking, cleaning, and storage. Keep items in the zone where they're used - cutting boards near the prep counter, pot holders near the stove. This reduces how far you move things during cooking and makes tidying up faster and more intuitive.
Step-by-Step: Reclaiming Your Kitchen
Work through the steps below in order. Each one builds on the last - skipping the audit phase and jumping straight to buying organizers is one of the most common reasons reorganization projects fail to stick.
Empty and audit everything
Pull everything out of your cabinets, drawers, and off your counters. Group items into categories: cooking tools, appliances, pantry items, bakeware, and so on. As you sort, ask yourself how often each item gets used. Items touched daily, weekly, and rarely belong in three distinct tiers of accessibility.
Decide what leaves the kitchen entirely
Large appliances used only a few times a year (waffle makers, pasta machines, large roasting pans) can live in a pantry or storage closet and be retrieved when needed. Clearing these from your cabinets opens significant space for everyday items. Donate or discard anything broken, duplicated, or genuinely unused.
Claim your vertical wall space
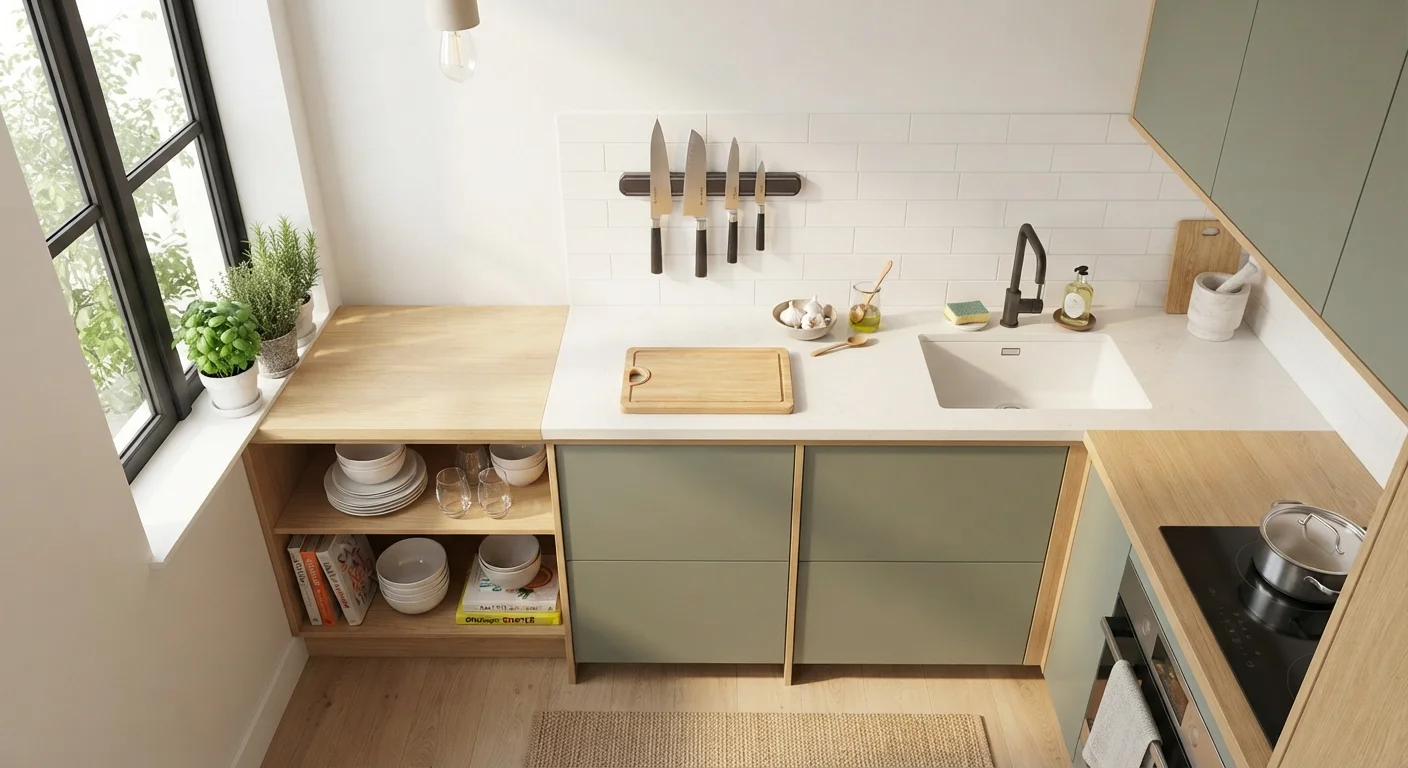
Walls between cabinets and above the counter are often entirely bare in small kitchens. A mounted rail with hooks, a small floating shelf, or a magnetic knife strip can absorb items that would otherwise occupy the counter. Vertical storage strategies are one of the highest-impact changes you can make in a compact space.
Maximize the inside of cabinets and drawers
Deep cabinets waste space because items get buried. Add stackable shelf risers or pull-out bins so you can see and reach items at the back without excavating the front. Install drawer dividers to give every utensil a defined slot. Attach over-door organizers to the inside of cabinet doors for pot lids, aluminum foil boxes, or spice packets.
Reassign counter space intentionally
The counter should hold only what you use every single day - a coffee maker, a fruit bowl, a knife block if it doesn't fit on the wall. Everything else earns its counter spot only if moving it would create more friction than it's worth. Be honest about what you reach for versus what just lives there by habit.
Organize the pantry or food storage area
Group pantry items by type and store them in clear, stackable containers where possible. Label shelves so items reliably return to the same spot. A well-organized pantry supports your kitchen setup by keeping rarely used items out of prime cabinet real estate. For households with different habits, see shared-space organization strategies for practical compromises.
Build a maintenance routine
Reorganization fades quickly without habits to sustain it. Spend five minutes at the end of each day returning items to their assigned spots. Do a brief monthly check to catch items that have drifted out of place. The system only works if everyone in the household understands where things belong - clear zones and labels make this easier than verbal reminders.
Avoid Overloading Wall-Mounted Shelves
Wall anchors and shelf brackets must be secured into wall studs or with appropriate hollow-wall anchors rated for the intended load. Overloaded or poorly anchored shelves can fall without warning. If you're unsure about your wall type or the weight capacity of a shelf system, consult a handyperson or refer to manufacturer guidelines before mounting anything heavy.
When Organization Isn't Enough: Considering Structural Changes
If you've worked through every step and storage is still genuinely insufficient, the issue may be structural rather than organizational. Cabinets that are poorly sized, shallow, or badly positioned limit what any organizer can accomplish. In that case, it's worth exploring options like cabinet refacing, repainting, or replacement - small physical changes to your cabinet layout can unlock storage that no bin or divider can create. For any renovation work, consult the broader home improvement resources available to understand scope, cost ranges, and when to bring in a professional.
Don't Reorganize Around Items You Don't Use
Building clever storage systems around rarely used appliances or duplicated gadgets just relocates the problem. Before buying any organizing products, do a honest audit of what you actually reach for each week. Items used less than once a month likely belong in a pantry, storage room, or donation box.